

Developing an Alexa Smart Home Skill
Introduction
Though it might sound complex, developing a smart home skill for Alexa is in fact very straightforward. You just need to get a grasp of some underlying principles of developing systems on AWS platform.
While there are many in-depth guides available out there, this write-up is meant to be a quick start guide to experience the complete development cycle.
To start with, you need an AWS account as well as an Amazon developer account.
I operate in AWS console as an IAM user with following permissions enabled:
- AWSLambdaFullAccess
- AWSIoTDataAccess
Creating an Alexa smart home skill
Go to Amazon developer site, login and click on  button under
  tab. Select
 Smart Home Skill API radio button, English (U.S) as language and select an appropriate skill name.
After saving initial entries, there is nothing to be done for interaction model since Smart Home Skills rely on pre-build interaction models that are build into the ecosystem.
Now, we need to create a back-end Lambda function that will process smart home requests coming from our skill. Make a note of skill ID from the top bar of Alexa developer console before logging in to AWS console as a user with sufficient privileges to create a Lambda function.
Creating a Lambda function
After logging into console, select Ireland region and go to Lambda service. Click  and select
 alexa-smart-home-skill-adapter blueprint for nodeJs. This will select Alexa Smart Home as the Lambda trigger. Now enter skill ID that we copied from developer console into Application Id and select Enable trigger before clicking  .
.
Lambda function code for a dummy household would have been already populated. We will look into the relevant parts later on. For now, just provide a function name and select a role. If you do not have an existing role that you have created, create a custom service-role/execute_my_lambda role. Make sure that this role has the follwoing permissions enabled in IaM console.
- AWSLambdaFullAccess
- AWSIoTDataAccess
Review settings in next screen and create the function. You can test it by configuring a test event of type Alexa Smart Home - Discovery from  . Once Discovery test is successful, copy the Lambda ARN and go back to developer console.
Configuring Account Linking
In Configuration page of the skill we where working on, select Europe as the lambda region and enter the ARN of Lambda function we just created in AWS console.
Alexa Smart Home Skills uses account linking feature of Alexa ecosytem to let our backend lambda function interact securely with a variety of cloud or standalone solutions handling actual device control functions. Only prerequisite is that the service should support OAuth based authentication.
When an end-user of our skill install it using Alexa mobile/web app, they will be asked to log into the device-cloud vendor’s web site by re-directing to a login page in their system. Once logged in, Alexa will get the Authentication_token that was derived as part of OAuth transactions. This will in turn be passed on to our Lambda function each time it is invoked. The Lambda function can then use this token to authenticate with device-cloud vendor’s service and call relevant device control APIs based on the Alexa intent that is being handled in that session.
In this case, to understand the account linking process, we will link our skill using Amazon credentials itself. So, when we enable the skill in our Alexa app, we will be presented an Amazon login page into which we can login using regular Amazon credentials. Since we will be setting up only Profile access as part of account linking, the Lambda will not be able to access anything other than user profile from the end users Amazon account.
In developer console go to  and select
 Login with Amazon. Select  and enter details in the next page. I selected Amazons privacy policy page http link since this is a dummy example.
Once a profile has been created, click on Show Client ID and Client Secret and make a note of Client ID and Client Secret and go back to the Alexa skill that we where developing.
Under Account Linking in Configuration, enter the following details:
Authorization URL:https://www.amazon.com/ap/oa- ` Client ID` : Client ID from security profile
- ` Access Token URI
:https://api.amazon.com/auth/o2/token` - ` Client Secret` : Client Secret from security profile.
Scope: profile
You can enter the same privacy policy URL as we did while creating security profile here as well.
Now we need to provide the unique redirect URLs for this skill in the security profile. Click on  corresponding to your security profiles, go to
 web settings and add the two redirect URLs from Alexa Skill into Allowed Return URLs.
Now that all the required details and setup has been done, we will see a  in the
 Test section of this skill. this means that our skill is ready to be tested in a real Alexa capable device. I use an Amazon Echo dot. In case you do not have a device, you can use echosim.io. Make sure that the device language is set to English (U.S) since we developed our skill for only that language.
Testing the Skill
Navigate to alexa.amazon.com and go to your skills under skills. Here the new skill will be visible with an explicit banner statting that account linking is required. 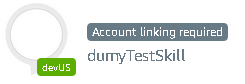 . Click on it and enable it.
When enable is clicked, you will be taken to the amazon login page for this skill. You should login using your regular Amazon user ID and password here.
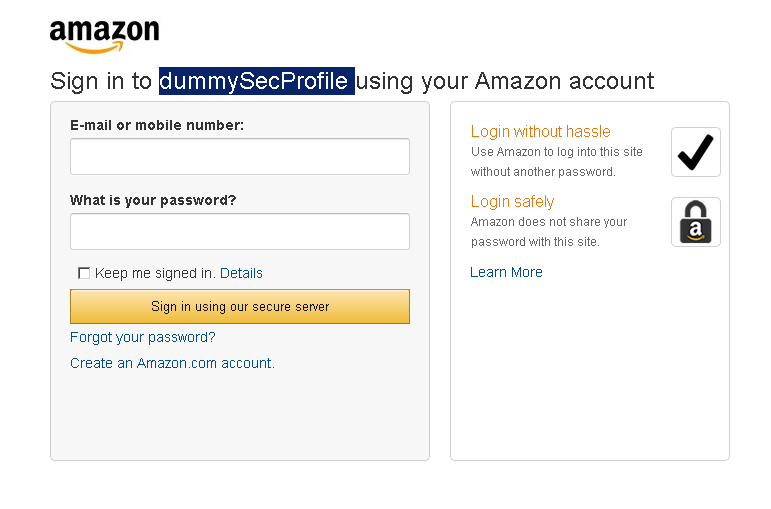
Amazon login page for account linking
Upon successful login, you will be shown a prompt to discover all devices in your household that can be handled by this skill.
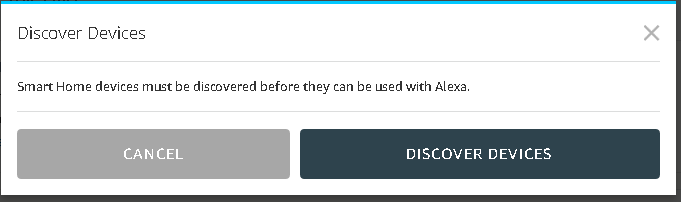
device discovery prompt
Following this, the dummy devices from our lambda blueprint will be visible under 
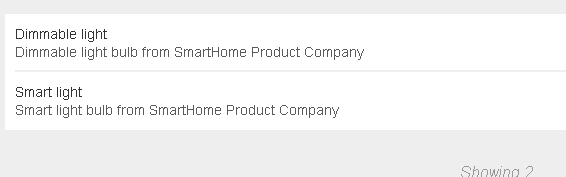
discovered Smart devices
Now, you can issue voice commands like :
Alexa, discover devices

Alexa, switch on smart light

Alexa, set dimmable light to fifty percent
Code flow
When a discover device is invoked either through the app or by asking Alexa to do so, the lambda handlers of all smart home skills will be called with DiscoverAppliancesRequest . The payload of this request json will contain the access token negotiated with actual device-cloud using OAuth.
Now that the lambda function has an authentication token, it can request the end-service (Server/device cloud) for devices that are available for this user. This data is passed back to the skill and it is populated under the smart devices tab.
A lot of device specific details are passed back to Alexa Smart Home as part of device discovery. This will include unique device and manufacturer identifier namespaces, device capabilities etc.
In the case of our blueprint code, two devices are reported back without contacting any service providers. The samrt light device just has just turnOn and turnOff capabilities while Dimmable light has turnOn, turnOff, setPercentage, incrementPercentage and decrementPercentage capabilities.
When an actual action on one of the devices is requested by the user, the lambda handler will be called with the corresponding request (e.g. TurnOnRequest) with enough details to uniquely identify the device for which the action is intented.
One way to take this dummy implementation to the next level is to attach devices to AWSIoT and have the lambda function modify device shadows based on intent calls from the trigger point.


Leave a comment