

Home made single sided PCBs
This article has been migrated from my original post at embeddedinn.wordpress.com.
There are numerous tutorials available in the internet about home made PCBs and the toner transfer method. Here is my addition to that :smile: )
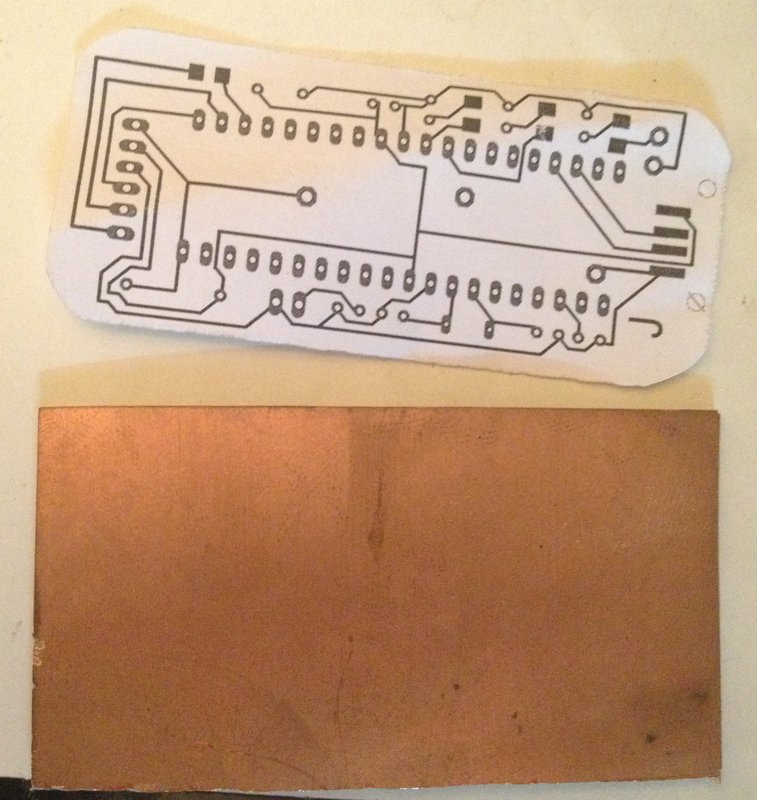
Step 1: Design your PCB in your favorite tool. I personally prefer CadSoft EagleCAD.
This is true only at the time of writing the article :smile: . My current preferred tools is KiCAD.
Step 2: Print the mirrored PCB artwork in a high GSM high gloss paper with a laser printer . I use the card like ones available to print posters.
Step 3: Cut out your copper-clad PCB to the required size. Clean the copper side and remove the natural oxide coating. I use mild steel wool used to clean utensils. But, be extra cautious not to make the copper surface uneven or scratched. While cleaning, it is better to move the steel wool in the same direction always.
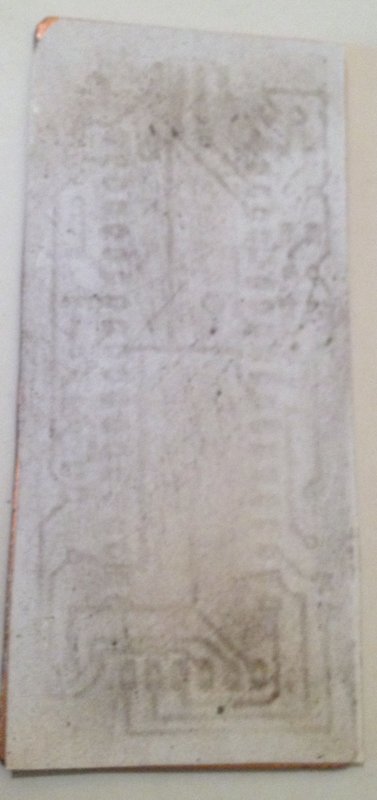
Step 4: Keep the printed artwork face down into the copper side of the copper-clad. Ensure that the edges of the paper and copper-clad are aligned.
Now place a clothes iron box at maximum temperature over the paper and apply pressure for around 20 seconds. Now move around the iron box applying pressure. Pa special attention to the edges.
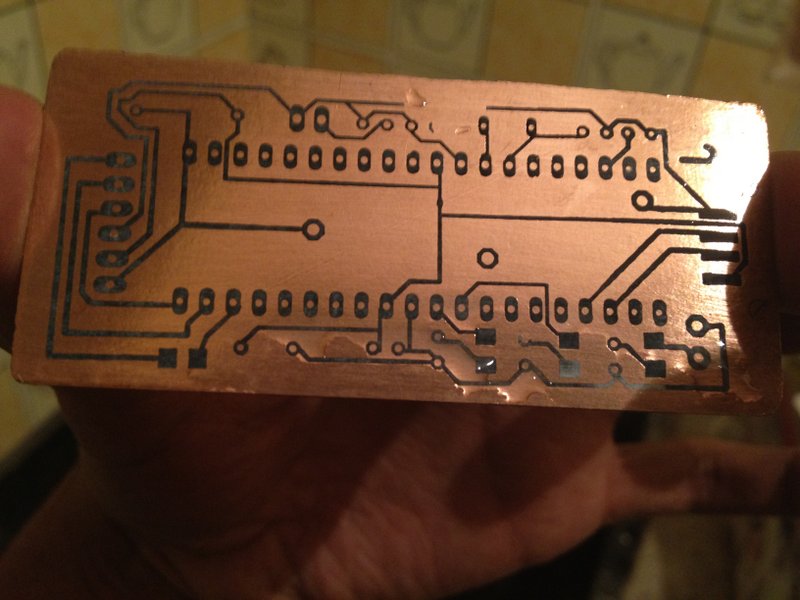
At the end of this process you will be able to see a shadow of the traces over the paper as shown in the figure below.
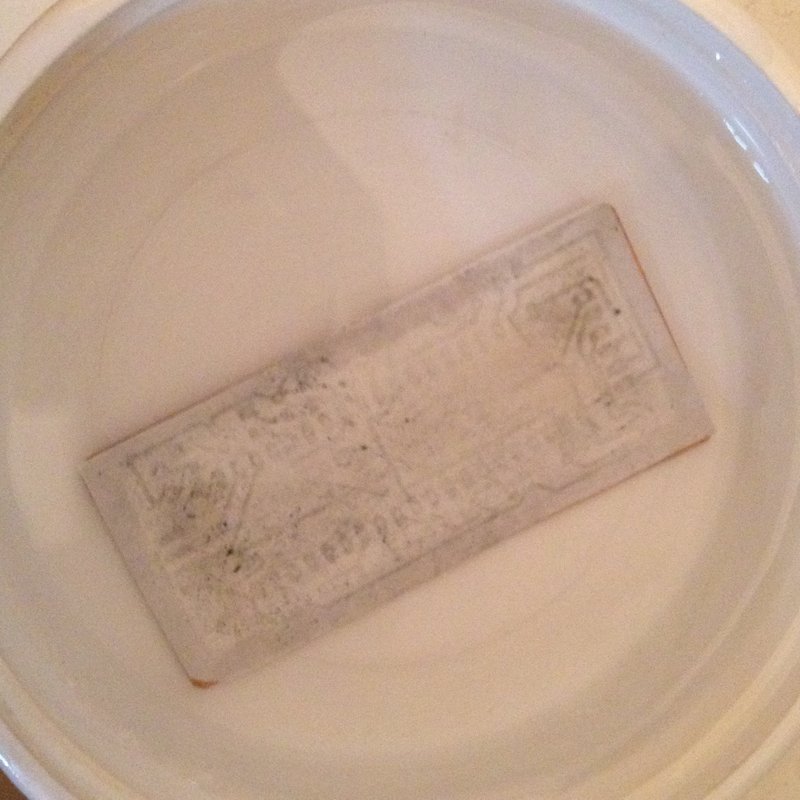
Step 5: Keep the board aside to cool down. Once the board is cooled down, immerse the board into water (at room temperature) for around 20 minutes. This will make the paper soft.
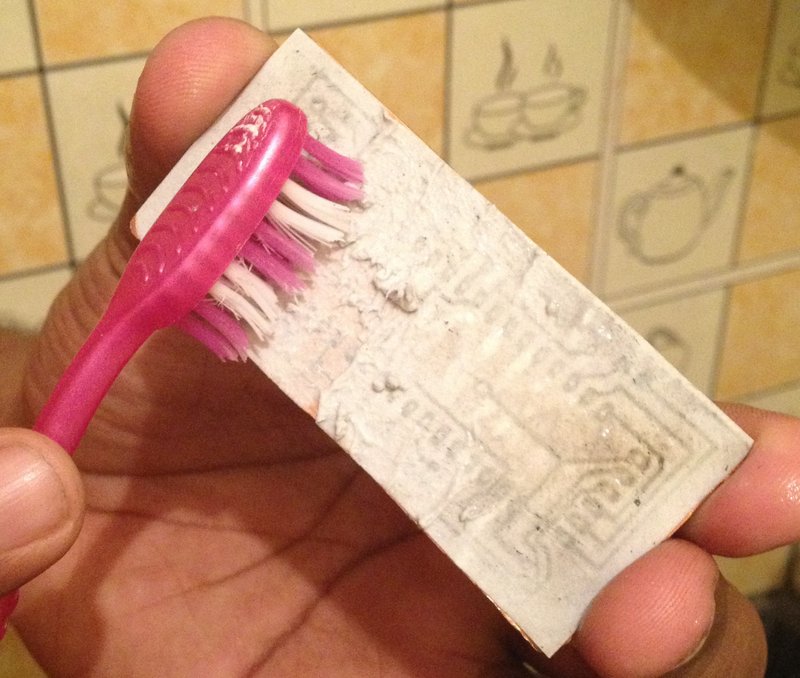
Step 6: Now use a soft bristle toothbrush to gently remove the white part of the paper. Once you start seeing the copper side, be extra careful so that you don’t accidentally remove the traces (seen in black). Do not try to peel off the paper.
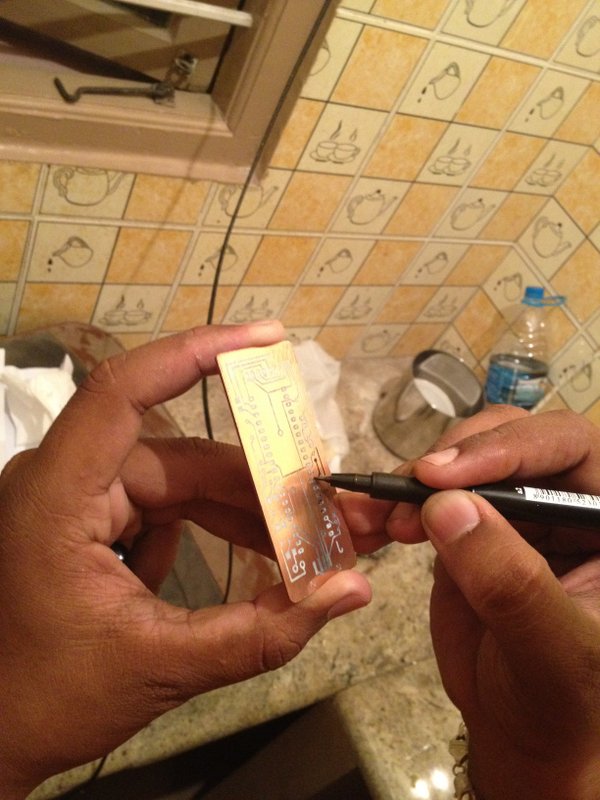
Step 7: If in case you damage any of the traces, use a fine tip marker (the ones used with OHP sheets or to label CDs) to make up for the damage.
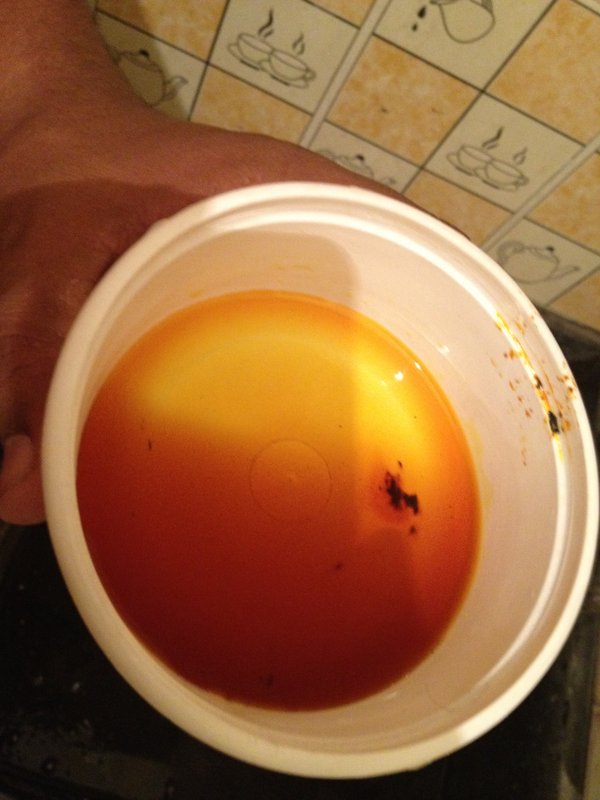
Step 8: Prepare a concentrated solution of ferric chloride in water. It is better to use a plastic or glass container for this since the solution is highly reactive. The reaction is also exothermic . So, take necessary precautions.
Make sure that all particles are dissolved and the solution is clean since floating particles can damage your board.
Step 9: Place the board gently into the solution. Stir the solution once every 30 seconds. Depending on the quality of your solution, the base material of the board will be visible in around 15 minutes. The solution will also turn green.
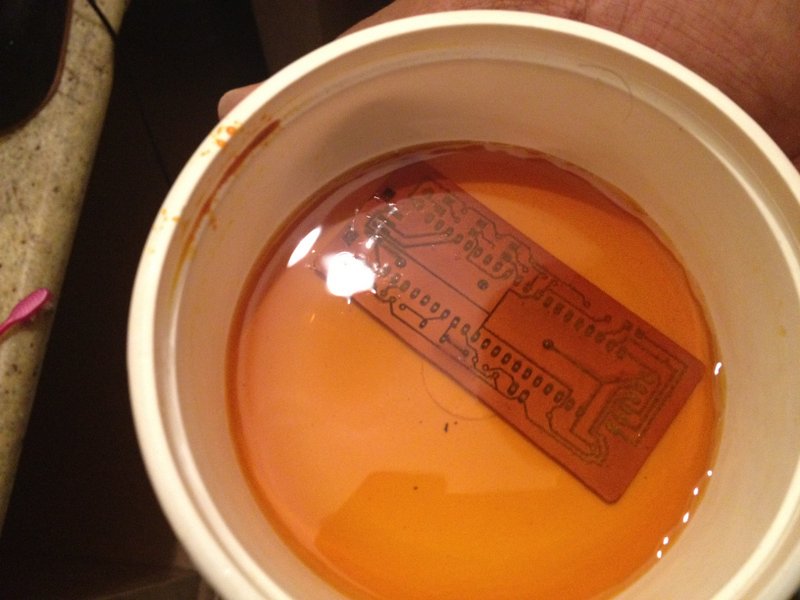
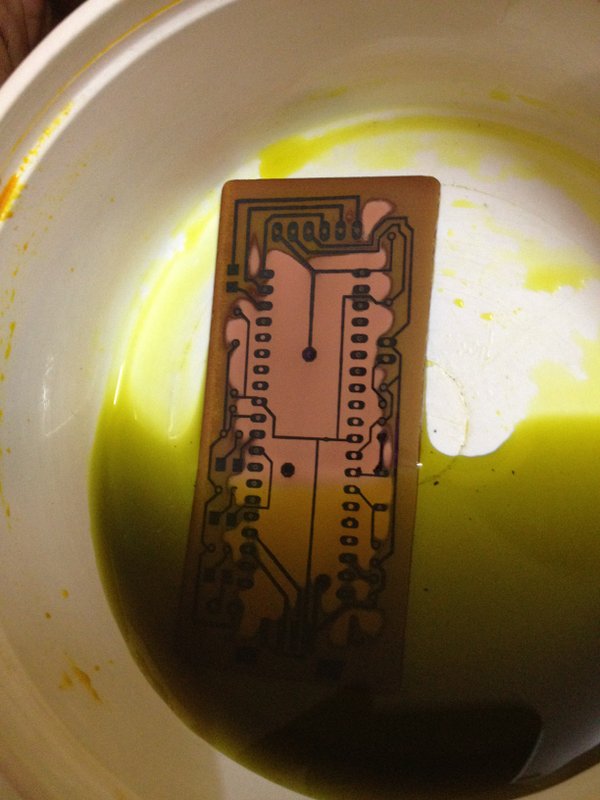
Step 10: Once you ensure that all visible copper is removed, remove the board from the solution and clean it under running water and dry the board with a tissue paper.
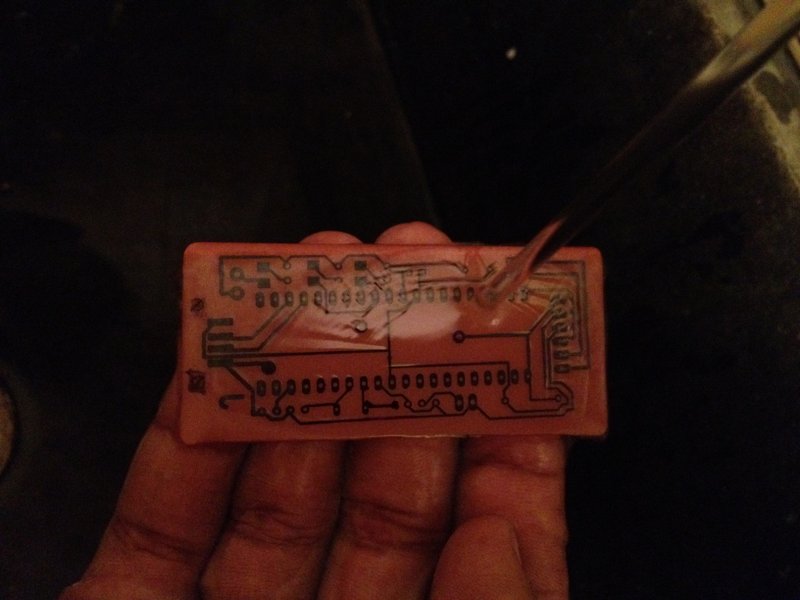
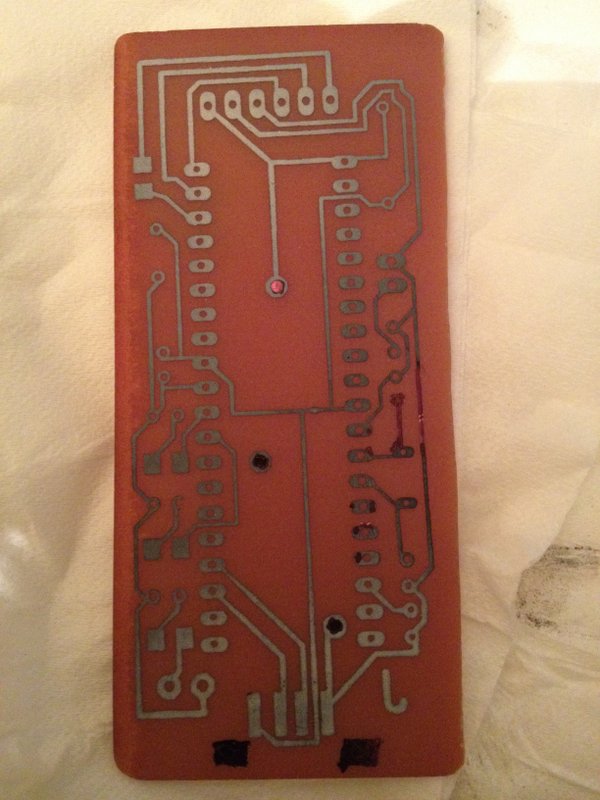
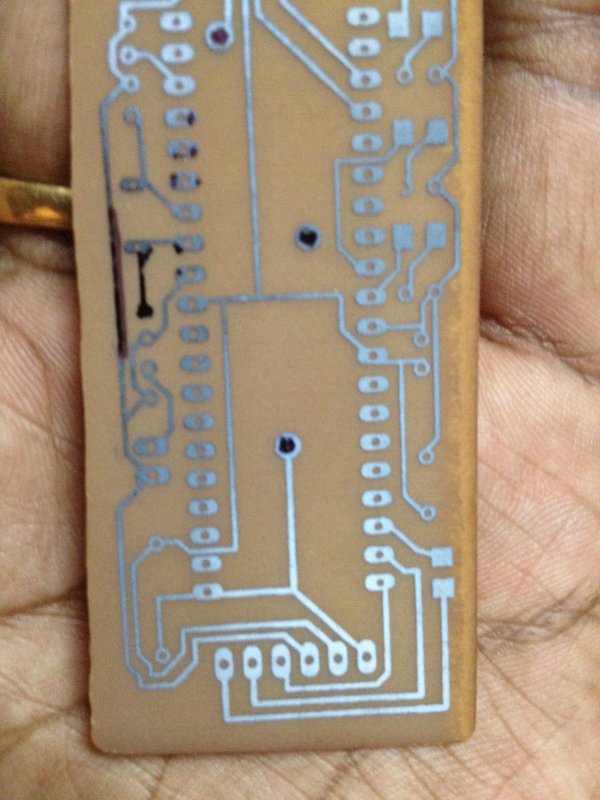
Step 11: Remove the toner with turpentine or nail polish remover and drill holes or appropriate size.


Leave a comment